Deploy a PHP application using RunCloud
Now we’ve got our server set up in RunCloud, we can deploy our application to it. In this tutorial, I’m using RunCloud’s git deployment to automatically deploy my application from a Git repository.
On a new server, you will need to generate a deployment key to add to your application’s Git repository. To do this, select your server, then the Deployment Keys section.
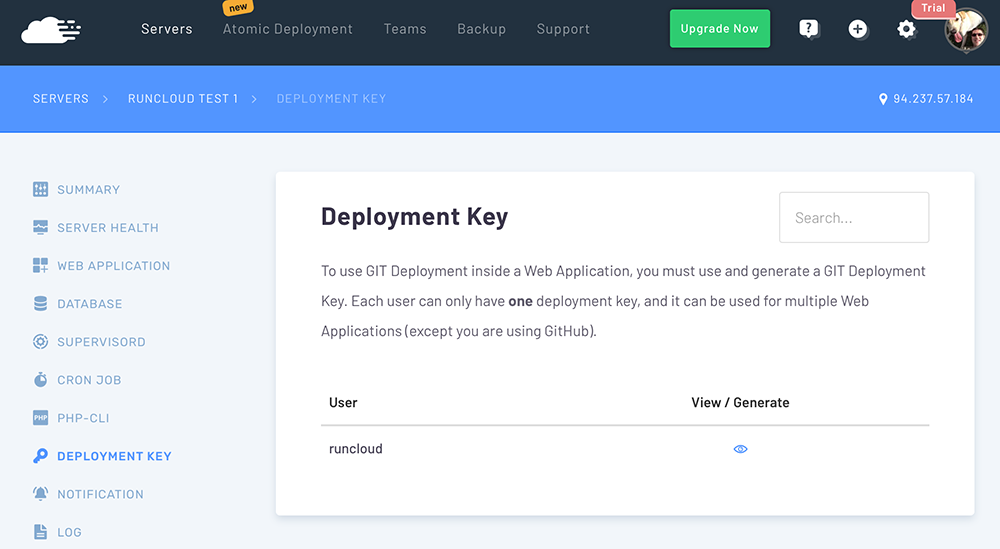
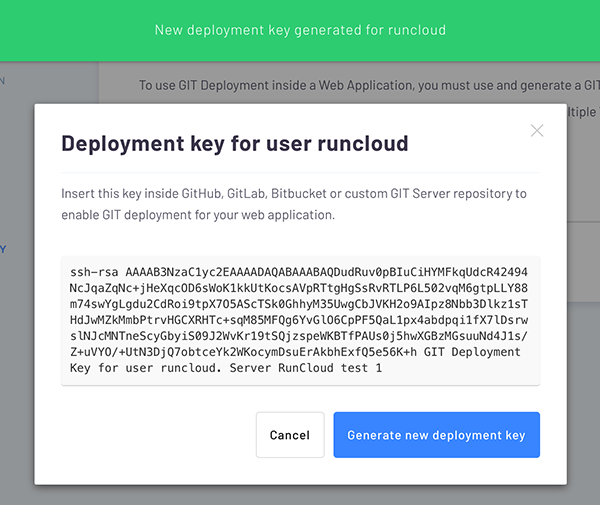
Click the view/generate icon next to the runcloud user. You will see an alert that the user doesn’t yet have a deployment key. Click OK to generate one. You will then need to add the new key to your Git repository.
We’re now ready to set up our application!
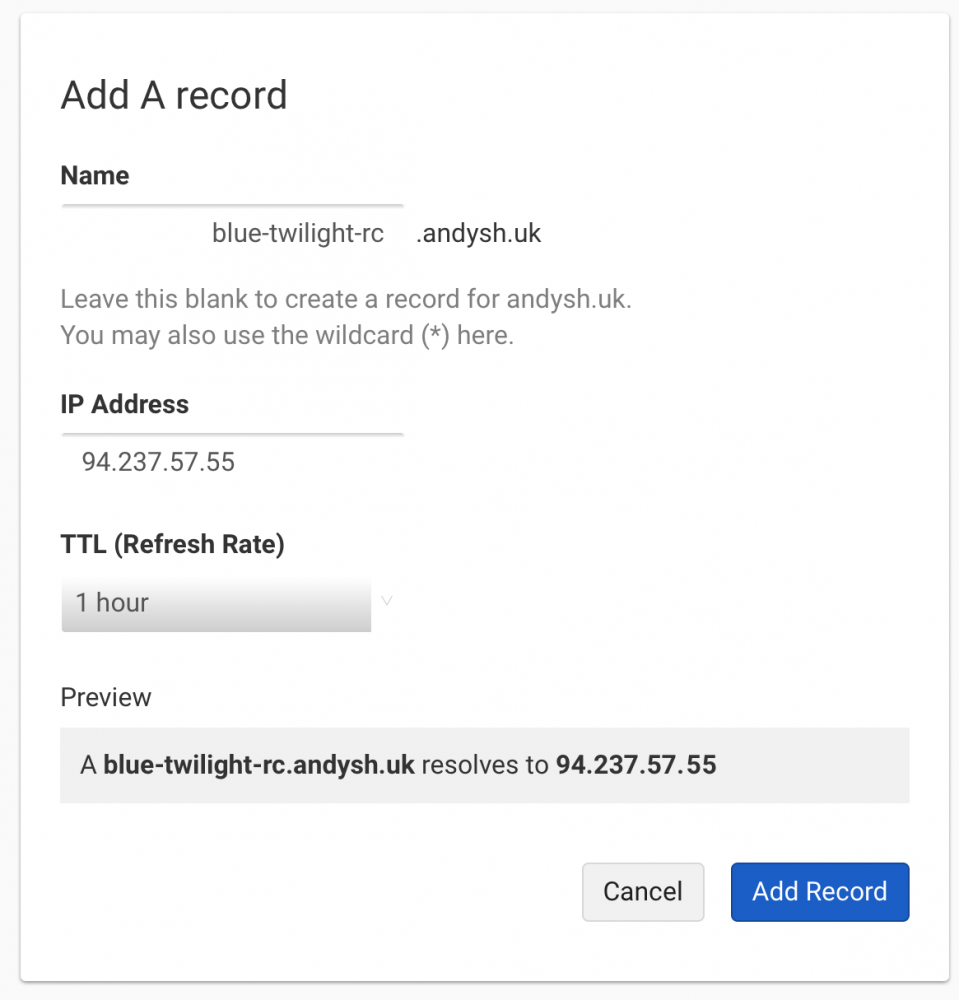
As with any application deployment, the first step is to set up a domain record for it. We may already have one – for example, if you are using a domain.
To create a record, log in to your domain or DNS provider and point your domain’s A record to the IP address of your server. How to do this is outside the scope of this tutorial – contact your domain or DNS provider if you need assistance.
I use DNSimple to manage my domains’ DNS, so I’ve set up a new A record on my domain for this tutorial.
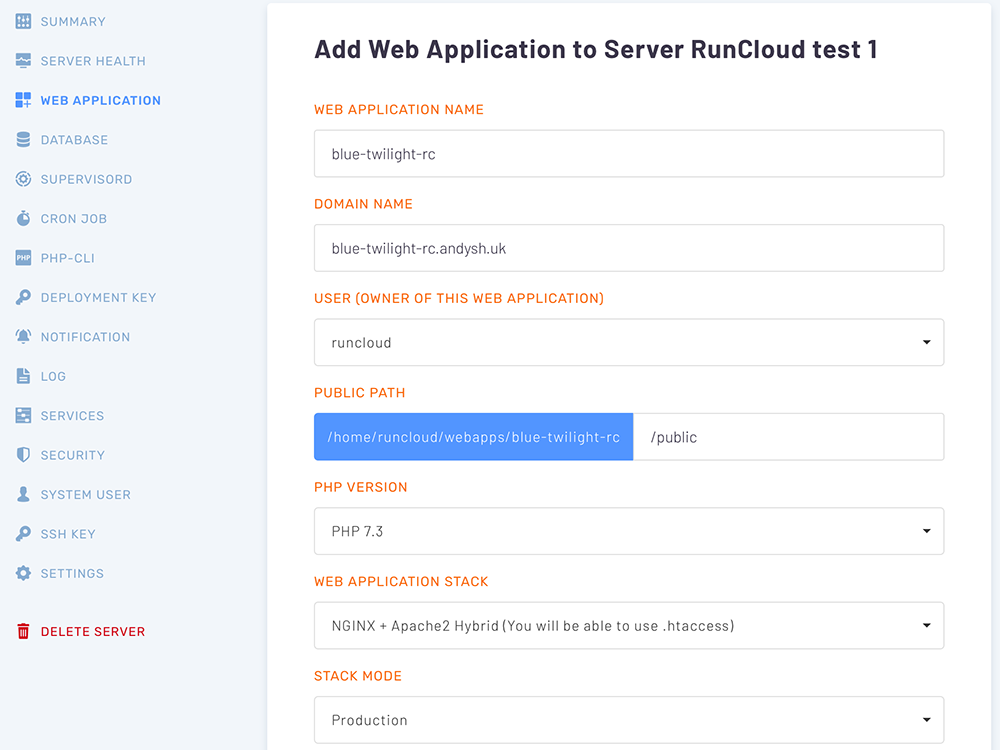
Next, we need to tell RunCloud about our new application. Select your server in RunCloud and click into the Web Applications section. Currently this section will be empty – we’re going to create a web application now.
On the Add Web Application form, enter a name to refer to the application, your domain name (or DNS A record you created a moment ago). RunCloud will provide a home directory where the application files will be stored.
Note: Blue Twilight is a Laravel application, so the “web root” of the application is the public sub-folder. Therefore I’ve entered /public in the “Public Path” field to ensure this gets served correctly.
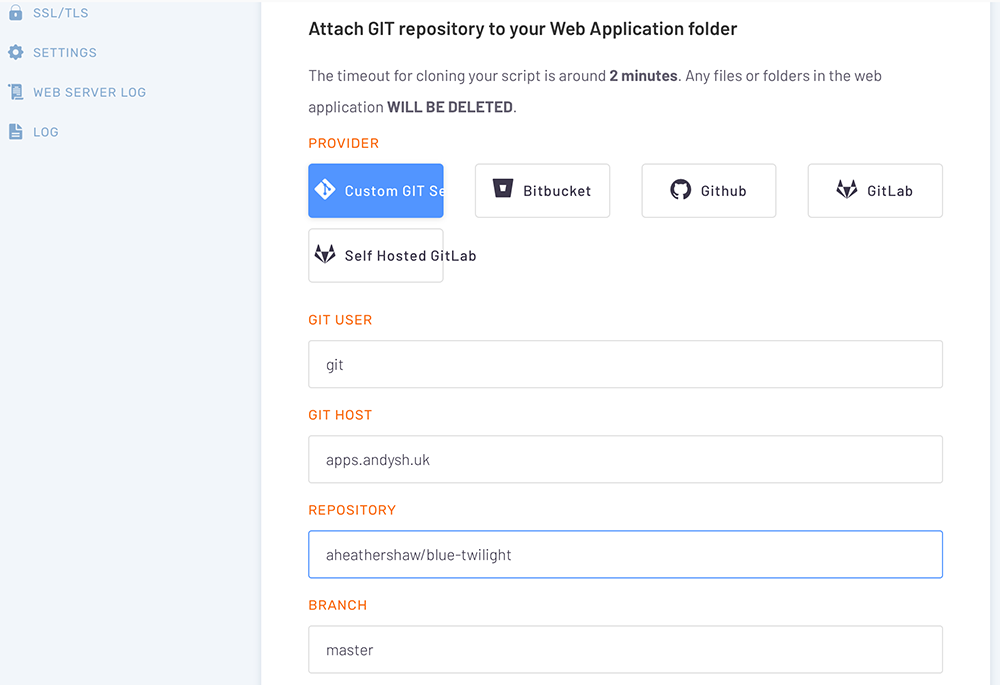
When the application has been created, you need to tell RunCloud where to get the application files from. If you don’t use (or don’t want to deploy from) a Git repository, you can upload files directly to your server in the folder RunCloud created for your application.
I’m using Gitea for my self-hosted Git server, so I’ve selected Custom GIT Server, but you can link RunCloud to Github, Bitbucket and GitLab too.
My only criticism of RunCloud here is that it has a “white list” of known branch names – so you can’t just deploy from any branch. The only one I managed to get working was master. Master is usually the code “in production”, so this makes sense, but you can’t deploy staging or test environments from a development or release branch.
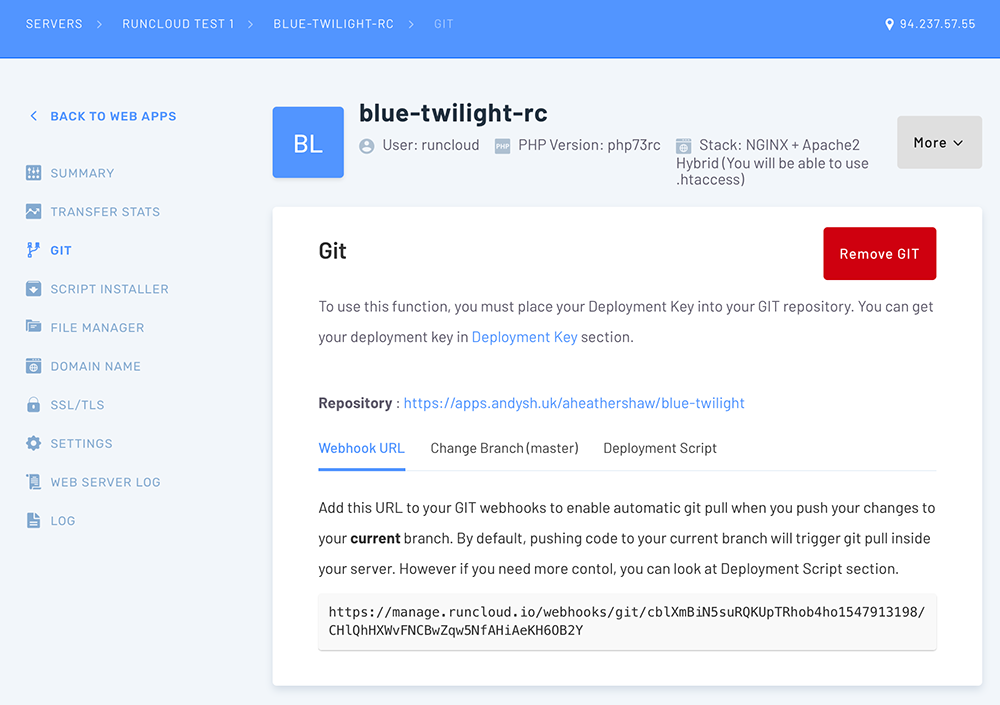
RunCloud will connect to your git server and fetch the latest copy of the application from your git repository. It will also provide you with instructions for configuring a “web hook” in your repository. This allows RunCloud to automatically re-deploy your application when a change is pushed to the repository’s branch.
That’s it!
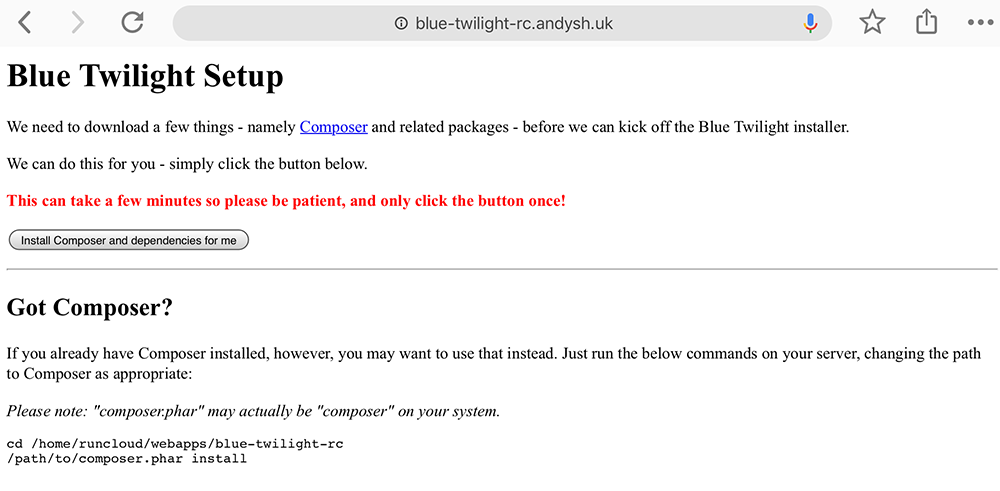
We can now access our application using the domain or DNS record we set up earlier. We set up our application without having to log in to our server!
It’s highly likely your application will need a database, so let’s set one up now – click the link below for page 5.
Add new comment