With the addition of a snapshot feature in the Edition 2 VPS, you can now take snapshots (known as "images") of your Fasthosts cloud VPS to protect against data loss and recover from a disaster scenario.
While you can use the snapshot feature for backups, I strongly recommend you have other backups in place for two reasons:
- Snapshots are stored in the same data centre as your VPS. If you lose access to your Fasthosts account for whatever reason, or the whole data centre fails, you'll lose access to your data. You should always have off-site backups too.
- The snapshot is a complete image of your VPS. It is only possible to roll your whole server back to that snapshot. You cannot recover individual files from the snapshot, for example.
I documented a backup solution for the Linode cloud hosting provider using the open-source Restic application and cloud storage, such as Linode's or Amazon's S3 object storage. This solution allows for efficient, file-based backups to be taken regularly - daily or even hourly, at a reasonable cost depending on your cloud storage provider.
Take a snapshot of your VPS
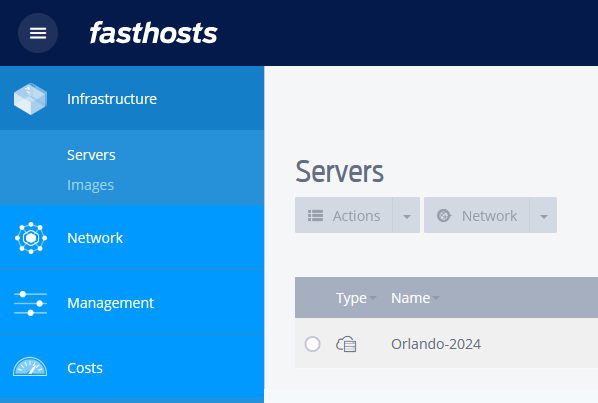
To take a snapshot of your Fasthosts VPS, navigate to the Virtual Private Servers section of the Fasthosts control panel and click your edition 2 VPS.
Click the Images option in the Infrastructure menu.
If you have previously created any images of your VPS, they will be listed here. Otherwise you'll see an empty listing.
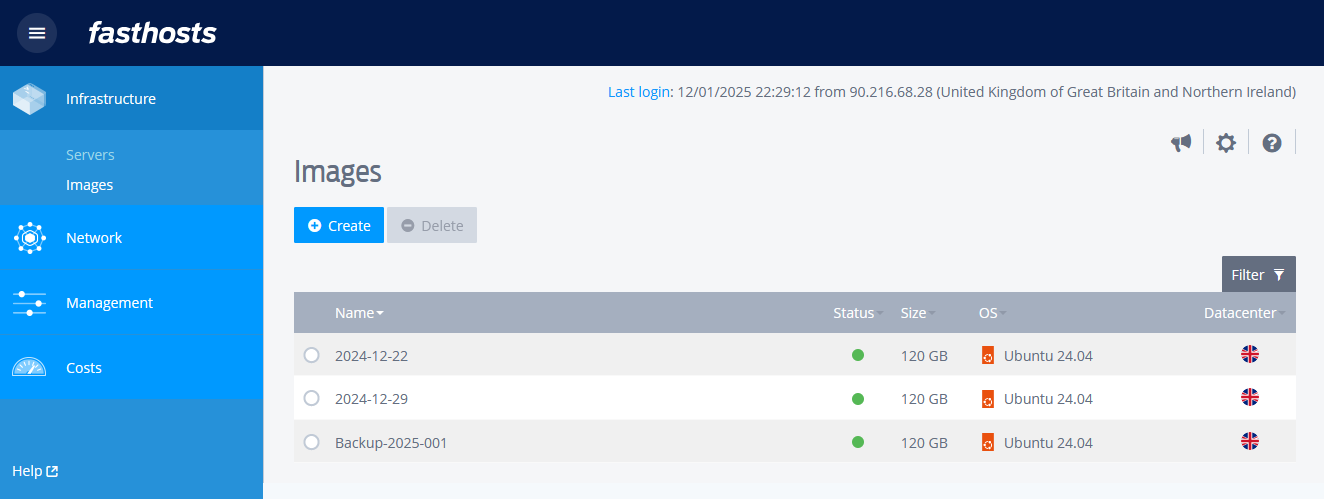
Click the Create button to create a new snapshot. You will be prompted for a name for your snapshot as well as which VPS you are taking a snapshot of.
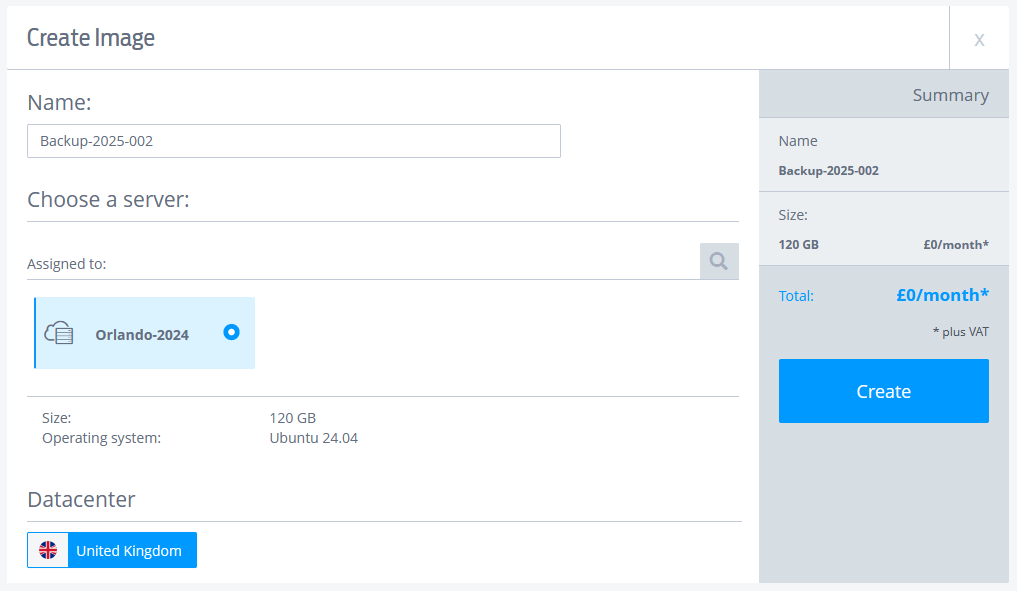
If you have multiple Edition 2 VPS, you'll only see the one for which you clicked into from the Fasthosts Control Panel. This is because this cloud panel is also used for CloudNX where you can have multiple servers in one account. For Edition 2 VPS, each VPS gets created inside its own cloud account.
Enter a name for your image and click the Create button.
Your new image will appear immediately with a status of Creating.
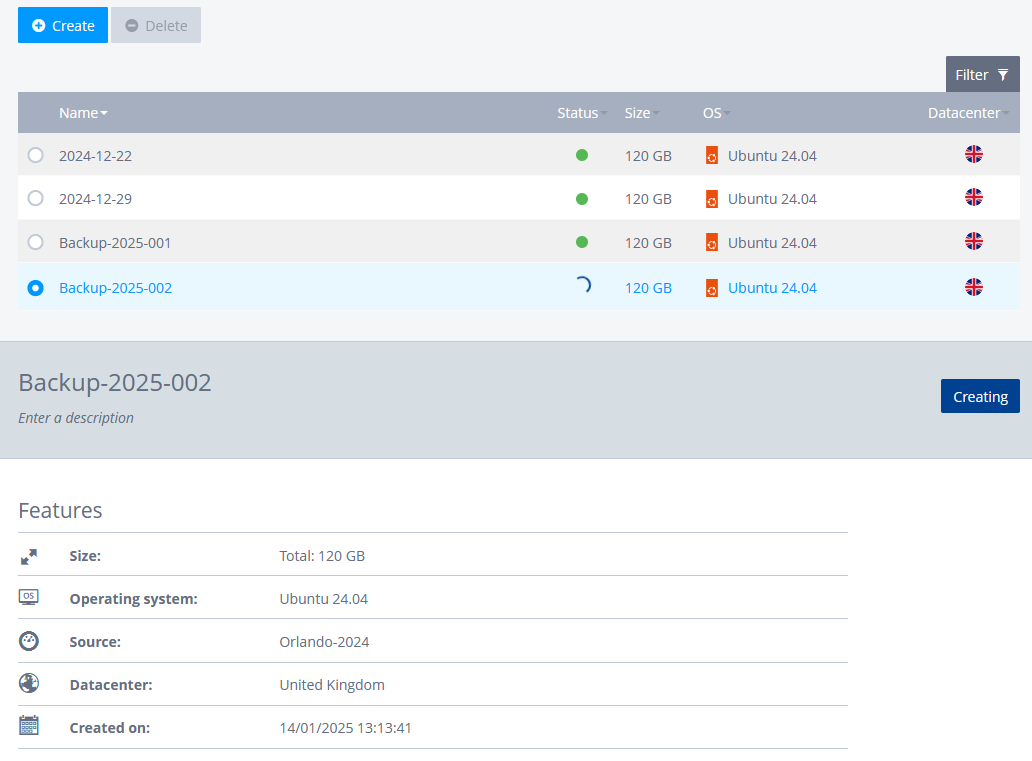
After a short time (usually less than a minute) your new image will change to a status of Active and is now available should you need to restore from it.

Restoring a Fasthosts VPS from a snapshot
An image is a full and complete snapshot of your entire VPS at the point-in-time in which the snapshot was taken. This allows you to restore your machine in its entirety to that point-in-time, should you need to.
This is both a destructive, and long-running process. On my 120GB VPS that runs this website, it takes around 30 minutes to fully restore. Should you need to do this on a VPS that is hosting live websites or applications, prepare for downtime. Anything created or changed on your VPS since the image was taken will be reverted.
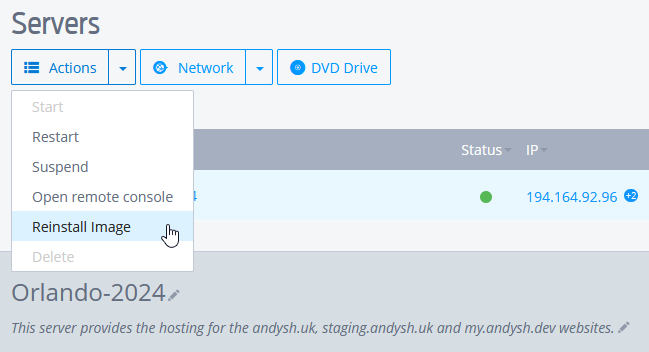
To begin a restore, select the Servers option in the Infrastructure menu.
Your Edition 2 VPS should be the only server listed. Click the radio button next to it.
This will activate the menu. Click the Actions menu, followed by the Reinstall image option.
This will give you the option of re-installing your VPS from a standard image, an ISO file provided by Fasthosts, or one of your own images. Click the My Images tab. You should see any images you created earlier.
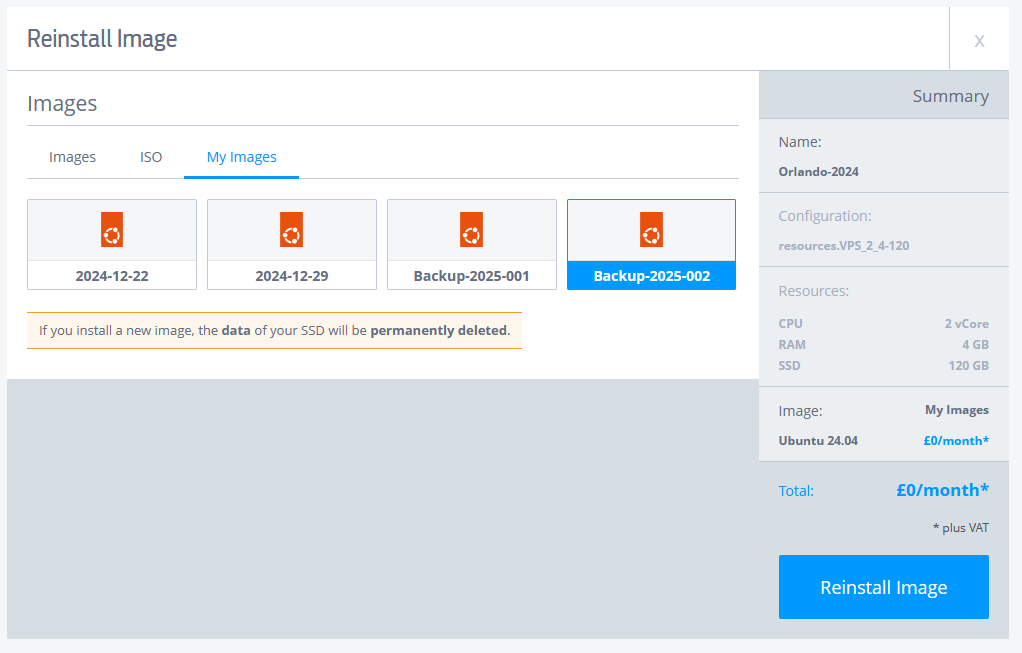
Select the image you want to restore to and click Reinstall Image.
Your VPS will begin to rebuild from the image you selected. This may take a significant amount of time depending on the size of your VPS.
You can monitor its status from the Servers list.
Summary
The Images feature in Fasthosts' Edition 2 VPS is a great service to use, especially when you are about to make a large change to your VPS. It gives you a safety net to fall back on if things go wrong.
Best of all, it's free!
Get your own Fasthosts Edition 2 VPS using my partner link below.

Add new comment