Ubuntu Server is a Linux distribution that is ideally suited to server workloads. For example: hosting websites and web applications.
One of the annoying things I find about some Linux distributions (Ubuntu included) is that packages are “frozen in time” through the life of a release. For example, Ubuntu 16.04 was released with PHP 7.0. However PHP 7.2 is now the latest release. Vendors typically apply security fixes to their packages, but you’re still missing out on new features.
In this tutorial, I’m going to show you how to install a LAMP stack – that’s Apache, MariaDB (in place of MySQL) and PHP – on Ubuntu Server using the latest available releases, and how to keep it up-to-date.
The server that runs Solid Tools for Developers, Simply Remind Me, my photo gallery and the website you’re reading right now, runs off a LAMP stack on Ubuntu Server 16.04 which is set up in this way.
Prerequisites needed before installing a LAMP stack
Before we begin, you will need:
- A server running Ubuntu Server 14.04 or 16.04 (it doesn’t matter if this is physical or virtual)
- Access to your server using SSH or access to its console
- Internet access on your server and your local machine
- The “add-apt-repository” program – install the “software-properties-common” package if you don’t currently have it (sudo apt install software-properties-common)
All the commands listed in this tutorial are prefixed with “sudo” to gain root privileges. If you already have root (e.g. you logged on as root, or you ran “sudo -i” to get a root shell) you can drop the “sudo.”
Install the latest version of Apache
Our first component in the LAMP stack is Apache – the web server.
We’ll begin by adding a new package repository to your system. This repository is maintained by Ondřej Surý – a package maintainer for Debian. Debian is Ubuntu’s upstream source – the code on which Ubuntu itself is built.
To install the repository, run the command:
sudo add-apt-repository ppa:ondrej/apache2Next, update your local cache with Ondřej’s packages, and install Apache:
sudo apt update
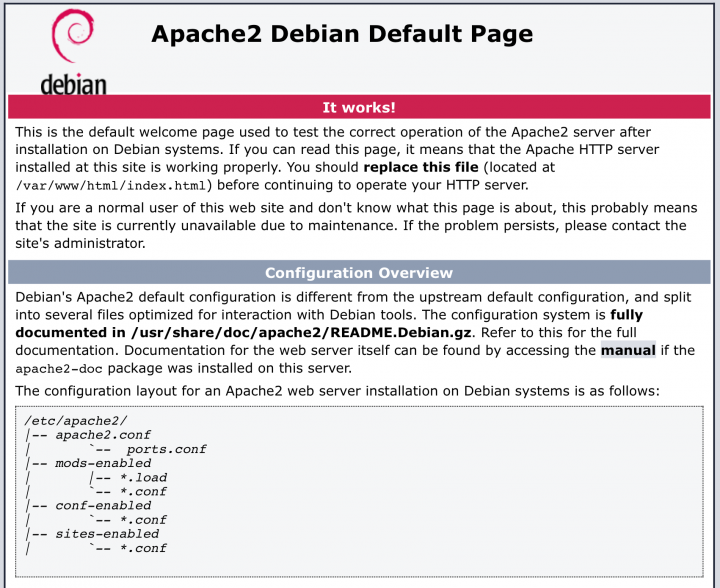
sudo apt install apache2Once the installation has finished, you should be able to browse to port 80 on your server and see the Debian test page.
For example: http://your-server-ip-address
Install the latest version of MariaDB
We’re now going to move onto the “M” component of the LAMP stack – MariaDB.
MariaDB is an alternative database server to MySQL. It started as a fork of MySQL by MySQL’s original developer – who was afraid MySQL would not be maintained under Oracle’s stewardship after they acquired Sun.
Nearly 10 years on, MariaDB has branched away from MySQL on its own roadmap and has significant differences.
The MariaDB Foundation provides repositories for most Linux distributions, including Ubuntu. These repositories contain their latest releases.
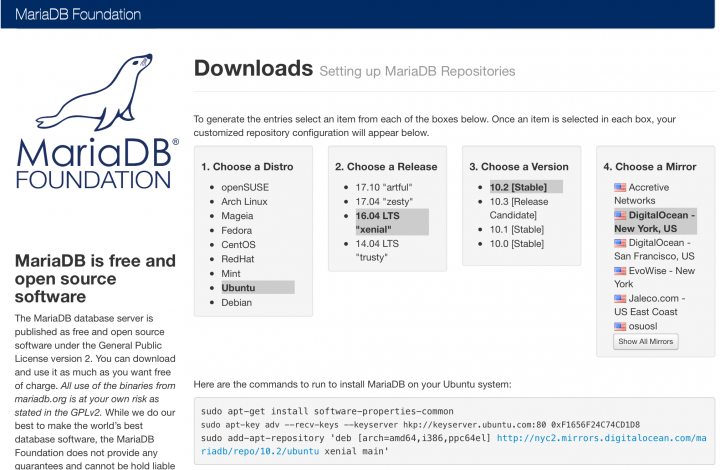
To begin, go to MariaDB’s repository configuration tool on your local computer.
Then:
- Select “Ubuntu” as the distribution.
- Select your version of Ubuntu.
- Finally, select the highest, stable version of MariaDB. At the time of writing, this was 10.2.
The repository configuration tool will pick the nearest mirror for you. If your server is in a different country to your computer, click “Show All Mirrors” and select a different provider in your server’s country.
Your screen should now look similar to this:
The repository configuration tool will provide you with the commands to execute to add the repository and install the MariaDB server.
The installer will prompt you for a root password for MariaDB. I highly recommend using a strong, secure password. Use the strong password generator on Solid Tools for Developers to generate a strong password for your new MariaDB server.
For the sake of clarity, here are the commands needed to install MariaDB server 10.2 on Ubuntu Server 16.04, using DigitalOcean in the US as a mirror.
Please use the repository configuration tool, linked above, to generate the correct commands for your system. Don’t just blindly copy and paste these!
sudo apt-key adv --recv-keys --keyserver hkp://keyserver.ubuntu.com:80 0xF1656F24C74CD1D8
sudo add-apt-repository 'deb [arch=amd64,i386,ppc64el]
http://nyc2.mirrors.digitalocean.com/mariadb/repo/10.2/ubuntu xenial
main'
sudo apt update
sudo apt install mariadb-server
To test your new installation, connect as the root user and the password you entered during the installation process.
mysql -u root -pAfter entering your password, you should see the MariaDB console:

Install the latest version of PHP
The final piece of the puzzle in our LAMP stack on Ubuntu Server is PHP.
PHP is a popular programming or scripting language for the web. Apache hands off requests from your visitors to PHP, which can perform many tasks such as connecting to a MariaDB or MySQL database. It then returns the HTML to Apache to send to your visitor’s browser.
I’m going to show you how to install the latest version of PHP using the PHP FastCGI Process Manager for a more efficient application server.
We’re going to install another Ondřej’s repositories. This one contains the latest PHP packages, nicely versioned into major releases so you can run them side-by-side if necessary.
At the time of writing, PHP 7.2 is the latest release. If you wish to use the previous stable version, you can replace instances of “php7.2” in the commands below with “php7.1” or “php7.0” (if you’re on Ubuntu 14.04. Ubuntu 16.04 comes with PHP 7.0 by default, so you don’t need this repository if you want to run 7.0 on 16.04.)
Installation
To install the repository, run the command:
sudo add-apt-repository ppa:ondrej/phpNext, update your local cache with Ondřej’s packages, and install PHP and FPM:
sudo apt update
sudo apt install php7.2-fpm
This will install the base PHP package and the FastCGI Process Manager.
Configuration
This has only installed and started PHP. We now need to tell Apache to use it. Fortunately, this is really simple. An Apache configuration file has already been created – we just need to make sure the “proxy_fcgi” and “actions” Apache modules are enabled, and enable the PHP configuration.
Here we go:
sudo a2enmod proxy_fcgi actions
sudo a2enconf php7.2-fpm
Finally, restart Apache to pick up the changes:
sudo systemctl restart apache2Test it out
We’re now going to test our new PHP installation. Run the following command to open the nano text editor:
sudo nano /var/www/html/test.phpInsert the following content:
<?php phpinfo(); ?>
Press CTRL+O, ENTER, CTRL+X to save the file and exit.
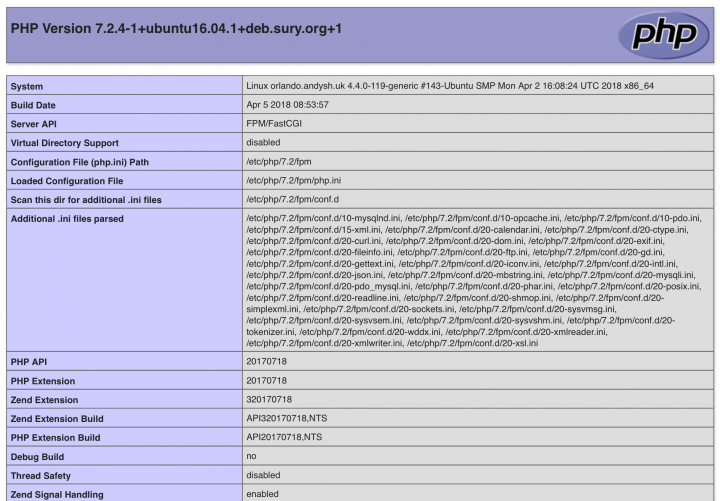
Now, browse to http://your-server-ip-address/test.php. If all has gone to plan, you should see the PHP configuration status page – which demonstrates that Apache and PHP are talking to each other correctly.
Don’t forget to remove the test file – it exposes configuration details of your server so it is a security risk if you leave it!
sudo rm /var/www/html/test.phpYou can now customise your installation by installing additional PHP modules.
To install a new module, run:
sudo apt install php7.2-[module]For example, you’ll most likely want the MySQL module to talk to MariaDB:
sudo apt install php7.2-mysqlFollowing a new module installation, you will need to restart PHP FPM to enable it:
sudo systemctl restart php7.2-fpmKeeping your LAMP stack up-to-date
If you’ve followed all the steps above, you can update your system to the latest releases of Apache, MariaDB and PHP by running the standard “apt” update procedure:
sudo apt update
sudo apt dist-upgrade
This will keep you on the latest Apache release, and the same major release of MariaDB and PHP – e.g. 10.2 and 7.2, respectively.
Switching to a new major release of any software is risky and you should always test the new versions thoroughly on a non-production system first!
When the MariaDB team release a new major release (e.g. 10.3) you will need to add the new version of the repository using the repository configuration tool. The above update procedure should then bring in the new version and upgrade your system.
When the PHP team release a new major release (e.g. 7.3) you will need to wait until Ondřej has added it to his repository.
Then, you will need to remove PHP 7.2 and re-install PHP using the instructions in the “Install the latest version of PHP” section above, but replacing “php7.2” with “php7.3.”
Conclusion
In this tutorial, I have shown you how to install a LAMP stack (Apache, MariaDB, PHP) on an Ubuntu Linux Server system, using the latest and greatest versions of each component.
If you followed all the steps, you have:
- Added a repository containing the latest versions of Apache to your system
- Installed the latest version of Apache
- Tested Apache works
- Added a repository containing the latest versions of MariaDB to your system
- Installed the latest version of MariaDB
- Set a default root password for MariaDB
- Tested MariaDB works
- Added a repository containing the latest versions of PHP to your system
- Installed the latest version of PHP and the FastCGI Process Manager
- Enabled the “proxy_fcgi” and “actions” Apache modules
- Enabled the PHP FPM configuration in Apache
- Tested PHP works with Apache
- Learnt how to update your system using “apt”
Add new comment