You manage your Fasthosts’ Edition 2 VPS within the CloudNX panel, accessible from within the Fasthosts Control Panel. This means if you have both CloudNX and VPS servers, management operations are now exactly the same.
You can:
- Reboot, suspend or resume your VPS
- Re-install the operating system on your VPS
- Access the console of your VPS
- Manage the firewall rules applied to your VPS
- Take snapshots (images) of your VPS
From the main navigation menu in the Fasthosts Control Panel, select “Virtual Private Servers.”
You will then see a list of virtual servers available in your account. Select the Edition 2 server you want to manage and you will be taken into the CloudNX panel.
Power Options
Fasthosts Edition 2 VPS work slightly differently compared to Edition 1 VPS and CloudNX servers. It is not possible to completely power them off!
Instead, you suspend and resume them. When they are suspended, the VPS is “paused”. When you resume them, they carry on from exactly where they were suspended.
You can still reboot them as normal.
I suspect this is something to do with the billing. CloudNX servers are not billed for CPU/RAM usage when they are powered off, however VPS are billed at a flat rate for the month, regardless of power state.
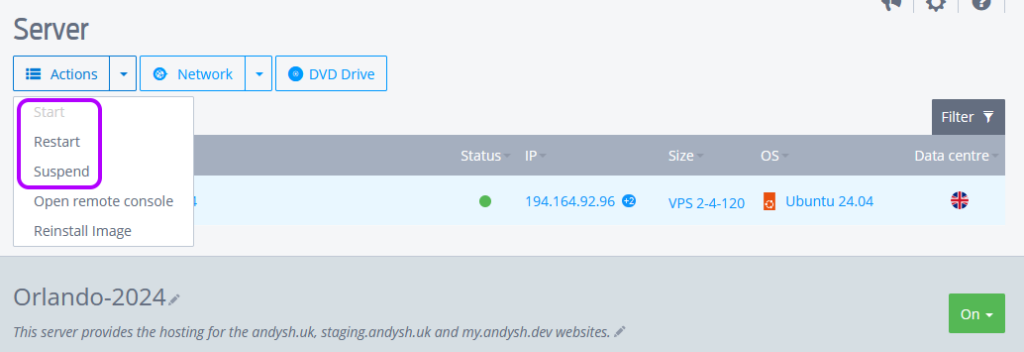
From the Infrastructure > Servers page, click the radio button next to your server.
Click the Actions button and choose Start, Restart or Suspend:
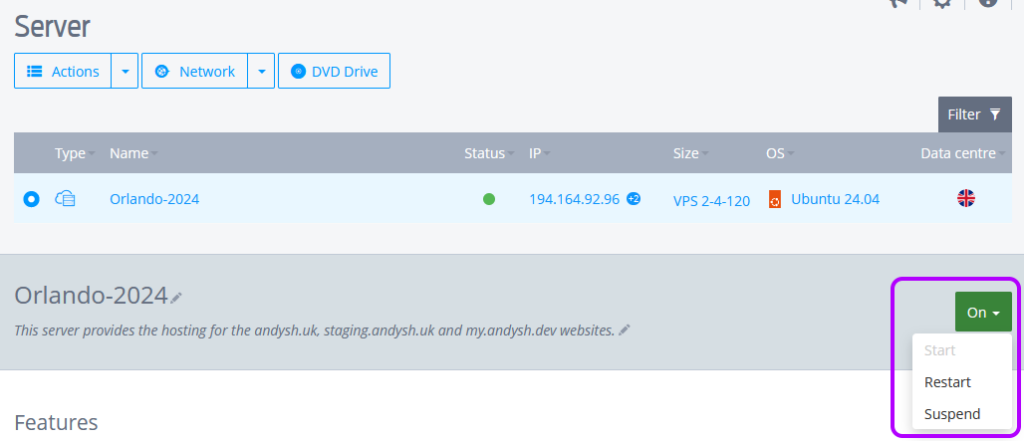
You can also click the power button to the right of your VPS’ name and description to reveal the power options:
A word of warning:
These options are the same as pulling the power cable out of a running computer, or turning it off and back on again from the mains. Where possible, you should always shut down or reboot your VPS from within the VPS itself (i.e. within the operating system.)
It is, however, useful to have these controls if the operating system is not responding, has failed to restart after a reboot, or you’ve accidentally shut the VPS down from within Windows or Linux.
KVM Console
If you have a physical server in a rack, you plug in a KVM (keyboard, video, mouse) console to the server to control it directly as if you sat in front of a normal computer.
Fasthosts provide a web-based, virtual KVM console where you can see and control your VPS as if it is a physical machine you sit in front of.

Using the KVM console, you can see the VPS’ boot-up process right from the BIOS, through to the operating system login screen. It is invaluable if your VPS has lost its network connectivity, you’ve locked yourself out with a firewall or network configuration change, or the VPS has failed to reboot for whatever reason.
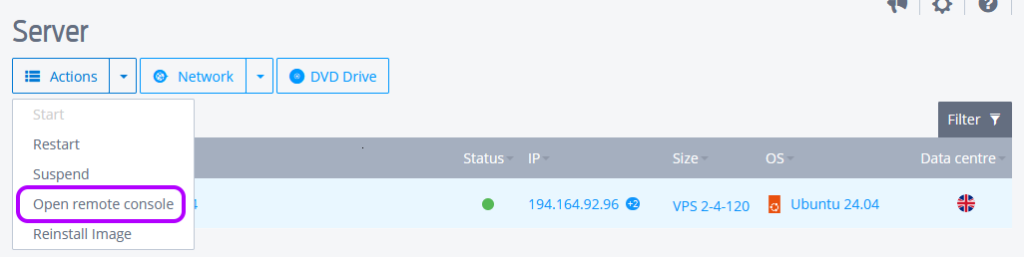
From the Infrastructure > Servers page, click the radio button next to your server.
Click “Open remote console” to open the KVM console in a new tab.
Sign up through my partner link to get £30 credit* to spend on Fasthosts VPS or any other product*.

* Excludes domains and Microsoft Office 365. New customers only. Credit applied after 60 days.
Leave a Reply